Its the one you’ve all been waiting for…FINALLY, not only a second ice cream experiment (as promised in my first ever post) but the big reveal of the last bake in the Great Friday Bake-Fest! Tah-dah! I realise that in my ‘Really minty mint choc chip ice cream’ post I hinted that the next flavour in the ice cream department would be ginger, but after shopping around and discovering just how expensive stem ginger in syrup seems to be, I decided I might put that one off until the old student loan comes in. Ginger is one of my favourite flavours in baking, and I had a fantastic ginger ice cream on holiday in France this summer, so if our heating decides to start working and the mere idea of eating ice cream stops making me shiver, look out for that.
You’d think that after roughly six hours in the kitchen baking, I would fancy a bit of a break, but no – I didn’t want to stop! Once the edible gifts for the family were done, I rounded up the day by making use of an ingredient I had originally planned to incorporate into the brownies – honeycomb. I couldn’t find any recipes for ‘honeycomb brownies’, but I did think they’d add a lovely crunchy texture and complement the chocolate. However, I did have qualms about the wetness of the brownie mixture, in that I thought it might just dissolve the honeycomb whilst baking in the oven. So I turned to the more conventional white chocolate chunks for the brownies, and the honeycomb met its frozen fate that evening.
It hadn’t even occurred to me that it might be possible to make your own honeycomb at home, until I came across a recipe for it on one of the food blogs I follow (I’ll cite this as a source for the recipe and also might pop in some links to blogs I like for other foodies out there – they’re much more established and professional than mine, and generally a joy to read!). Its actually very simple, and feels a bit like when you got to do blowing-things-up practicals in science at school as the bicarbonate of soda is added. So, firstly, the recipe and method for making honeycomb, adapted very slightly from the original. Get your goggles on!*
*You don’t actually need protective safety equipment for this bake – the hot sugar is dangerous so please use oven gloves and take care when handling it – but unlike in science class there’s nothing explosive here.
Two things to be aware of as you’re making the honeycomb: Don’t boil your honeycomb past the deep amber stage, as it can turn from lovely and golden to dark and burnt in seconds. This is what happened to my first batch, and like overcooked toffee or caramel, it tastes bitter and quite unpleasant. Also, don’t overwhisk. When the bicarbonate of soda is added, the mixture will froth up immediately and in a big way. Don’t panic, but do try and whip up the mixture as fast as possible so that there aren’t big lumps of bicarb left, but you don’t deflate all the bubbles created by adding it. Sifting the powder into a small bowl beforehand helps.
Ingredients:
- 1 tbsp good quality (with a nice flavour because this will come through in the honeycomb) runny honey
- 3 tbsp golden syrup
- 100g caster sugar
- 1 heaped tsp bicarbonate of soda
Step 1: Line a baking tray (preferably with sides at least a couple of centimeters high, otherwise you’ll have to take extra care when pouring out the mixture) with baking paper.
Step 2: In a high-sided saucepan (this is necessary for when it gets frothy, trust me), melt the sugar, golden syrup and honey together over a low heat. Once all the sugar has dissolved you won’t be able to feel any grainy-ness on the bottom of the pan with your spoon. Now turn the heat up and bring to the boil.
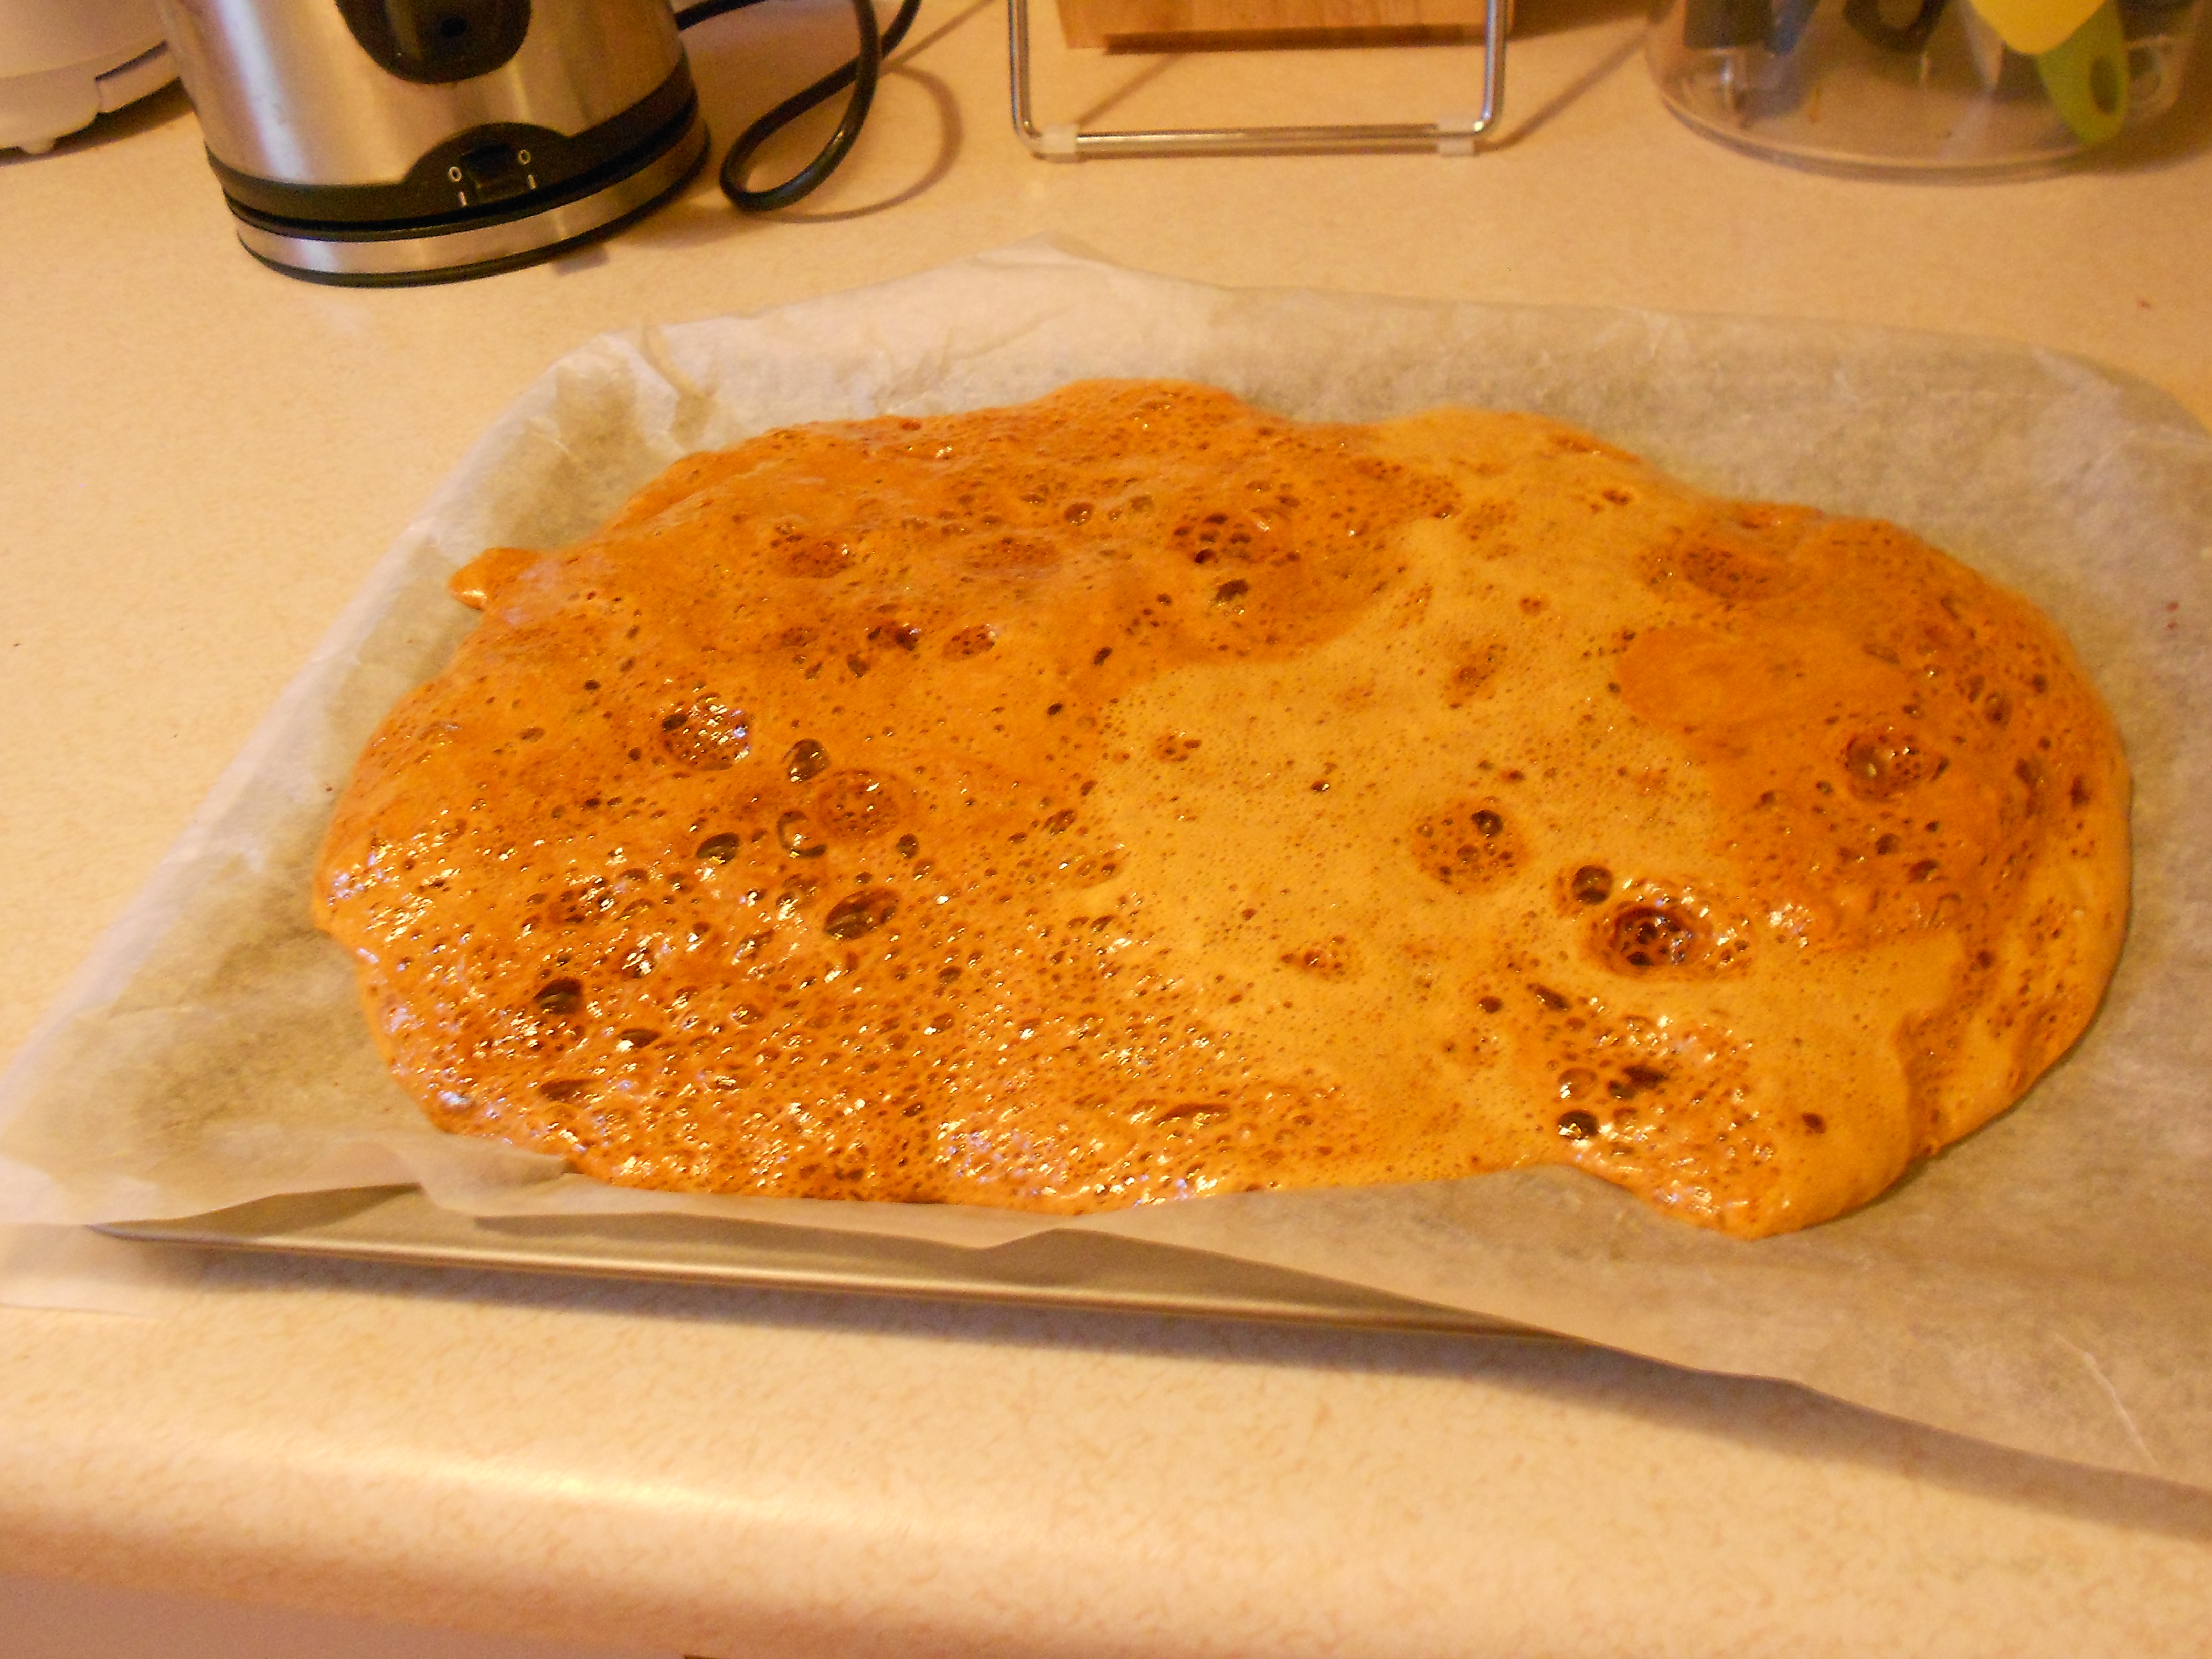
Step 3: Boil the sugar, honey and syrup until the mixture turns a deep amber colour – the colour of honeycomb you buy in the shops, basically. AS SOON AS it reaches this point, tip in your bicarb of soda and very quickly whisk to combine. Then pour out onto the baking tray to make a sheet of honeycomb. This will set fairly quickly, which is why you shouldn’t hang about after adding the bicarb.
Step 4: After about an hour and a half, two hours at the most, your honeycomb should be set and ready to bash up into bite-size pieces. Coat in chocolate, crush and sprinkle over desserts, or even add to ice cream…It will get chewier and stickier the longer you leave it out in the air – this needs to be either used (in whatever form) on the same day you make it or kept in an airtight tupperware box. Once coated in chocolate it will last longer as this stops the air getting to it.
Brilliant, so now you’ve made the honeycomb, you can leave it to set whilst you make the ice cream. Its very similar to the mint choc chip, so if you’ve made that one already it’ll be a piece of cake.
Ingredients:
- 300ml double cream
- 300ml milk (whole if you’re feeling decadent)
- 100g caster sugar
- 3 large egg yolks
- 1 vanilla pod with seeds scraped out, or 1 tsp vanilla extract
Step 1: Whisk the sugar and yolks (and vanilla extract, if using) together in a bowl. Pour the milk and cream into a pan (add the vanilla seeds and pod, if using) and heat to just below boiling point. You can tell when this is as the surface of the mixture will just start to froth and roil.
Step 2: Pour the milk and cream slowly into the yolks and sugar (remove the vanilla pod from the pan before you combine them, if using) and whisk well. Pour the custard mixture into the pan.
Step 3: Stir the mixture constantly over a low heat, until it has thickened enough to coat the back of a spoon. Cool before pouring into a chilled container, and freezing for 1 hour.
Step 4: After an hour, take out the ice cream and stir well to dislodge all the ice crystals that will have built up. Fold in the honeycomb (about 100g for this amount of ice cream) and put back in the freezer til set.
I really like the flavour and texture of this ice cream; the honeycomb is obviously affected by the liquid in the mixture, but it turns gooey and ripples through the ice cream which I think makes it taste and look fantastic. I will note that this ice cream was a little icier than the mint – that sounds daft I know, but I think it was to do with the amount of crystals that formed in the ice cream before stirring, so don’t leave it too long before checking and adding the honeycomb. Otherwise, delicious!

Sources: The Little Loaf, ‘Real Homemade Honeycomb’ and BBC Good Food, ‘Honeycomb ice cream’. Thank you to The Little Loaf blog for inspiration!

I can vouch for the ice cream – unbelievably good!
Thank you! Definitely on the ‘must make again’ list x