I watch a lot of cooking shows. I mean A LOT a lot. I don’t know what it is really, they’re just such a chilled way to relax – I don’t watch much TV, but when I do its because I want something entertaining that really doesn’t require much/any input on my part. Probably a knee-jerk reaction to so much reading in my day-to-day life! Anyway, cookery shows often provide great inspiration, and an incentive to go a little bit further and make your food a little bit fancier than you might otherwise. Hence this patisserie delicacy I’m serving up to you today! (Its actually very easy, just looks pleasingly posh and effortful – is that a word? opposite of effortless?)
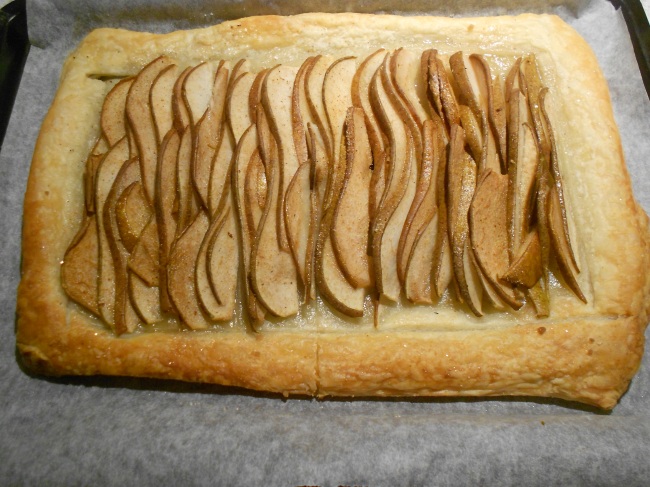
Ta da! How pretty is this?! In retrospect I think I underbaked it, but we live and learn 🙂
The pears are sliced nice and thinly so they soften up during baking, and the cinnamon sugar sprinkled over the top glazes the whole thing beautifully and sweetens the flavour. I also added a grating of nutmeg to finish my version; the inside of a nutmeg is so aesthetically pleasing, not to mention the aroma, that I take a fine grater to this lovely spice at any opportunity. Puff pastry is supposed to be the most finicky pastry to make yourself – I have it on good authority (cooking shows) that even the best chefs buy it from the supermarket. So don’t worry your little heads about that 🙂 Equipment wise, all you need is a baking tray and if you don’t have one of those you must live in a cave, so you’re ready to rock and roll out that pastry…see what I did there?…
Ingredients:
- Ready-rolled puff pastry (or roll out one quarter of a block of Jus-Rol Puff Pastry – I always freeze the rest and it lasts for ever)
- Two ripe, but firm pears
- Brown sugar and caster sugar, combined (I didn’t measure this; do it according to your personal sweet tooth)
- 1/2 teaspoon ground cinnamon
- About a quarter of a teaspoon ground nutmeg
Method:
1. Roll out your puff pastry into a nice even rectangle, or cut out a piece of ready-rolled to fit your baking tray. The tray should be lined with greaseproof paper or you’ll never get the tart out. Mine was approximately 30 x 20 cm (12 x 8 inches). Gently, very gently, take a sharp knife and score a rectangle inside your pastry rectangle, about 2 cm in from each edge. This creates a border which will puff up nicely around your pears and look oh-so profesh. DON’T cut all the way through the pastry. Or your border will be detached from the tart. Obviously 🙂
2. Slice your pears on a board nice and thin – I mean thin like less than half a centimeter, or they won’t cook enough. To do this neatly, top and tail the pear, stand it up on its flat bottom and slice it in half longways all the way down. Core each half, then put it flat side down on your board and work from right to left, or left to right if that’s easier, slicing thinly all the way across.
3. Arrange the pears on the pastry, starting at one end of the rectangle and working down the length of it. The slices should all be half on top of each other, like roof tiles. Basically, use your wonderful artistry to make it look pretty and elegant and inviting. Go crazy-paving style if you like, make crop circles, play pear Tetris. Its quite good fun if you’re in a patient mood with time on your hands.
4. Sprinkle your combined sugars and spices (you could use ground ginger as well or instead of nutmeg and/or cinnamon, possibly even cardamom if you’re feeling exotic…the choice is yours!) over the pears and pastry, getting even coverage so its all sweet and caramelised. Chill in the fridge for 20 minutes minimum to allow the pastry to firm up again.
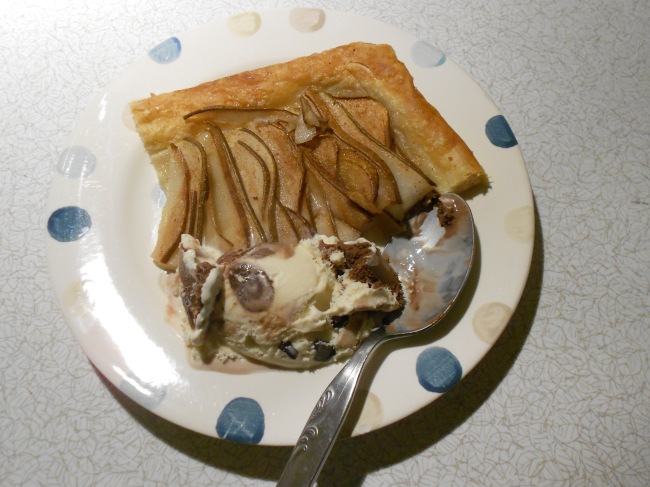
5. Pop the pear tart, on its lined baking tray, into a preheated oven at 200C (Gas Mark 6) and bake for 15-20 minutes. Then turn the oven down to 180C (Gas Mark 4) and bake for another 10-15 minutes, until the pastry is golden brown and risen on the edges, and the fruit is soft. Serving suggestions; ice cream, ice cream or ice cream. Or dark chocolate sauce. Mmmm.
I had mine with Ben & Jerry’s – nom nom nom nom nom.
Source: ‘Puff Pastry Tart with Pear’ (I like my highly alliterative name better) from Grand Central Bakery.com <http://grandcentralbakery.com/recipes/u-bake-recipes/made-with-gcb-puff-pastry/puff-pastry-tart-with-pears/> Thanks for reading! 🙂

